

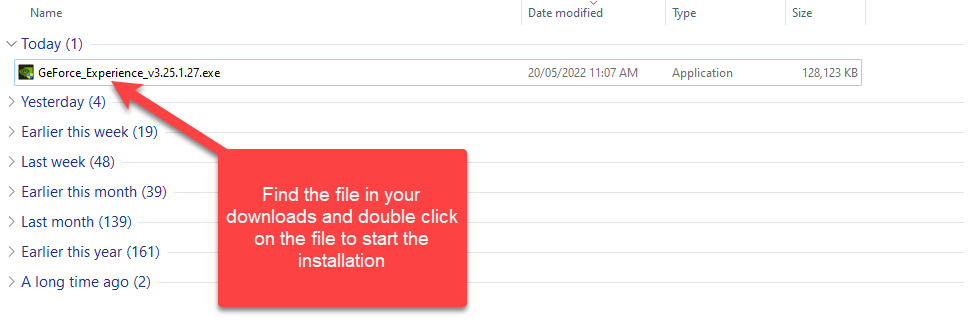
3. Find the file in your downloads folder and double click on the file to start the installation
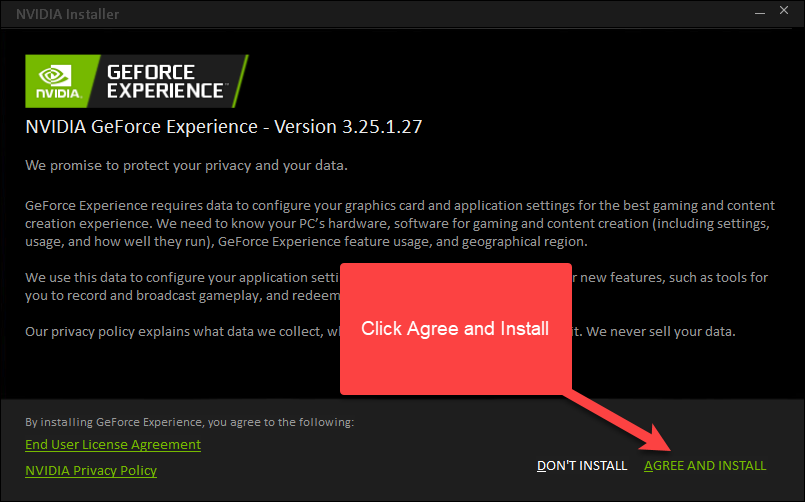
4. Click Agree and Install
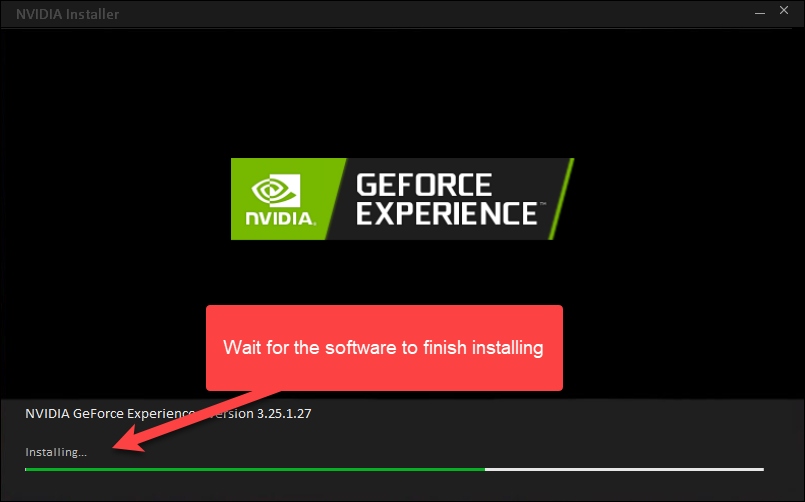
5. Wait for the software to finish installing
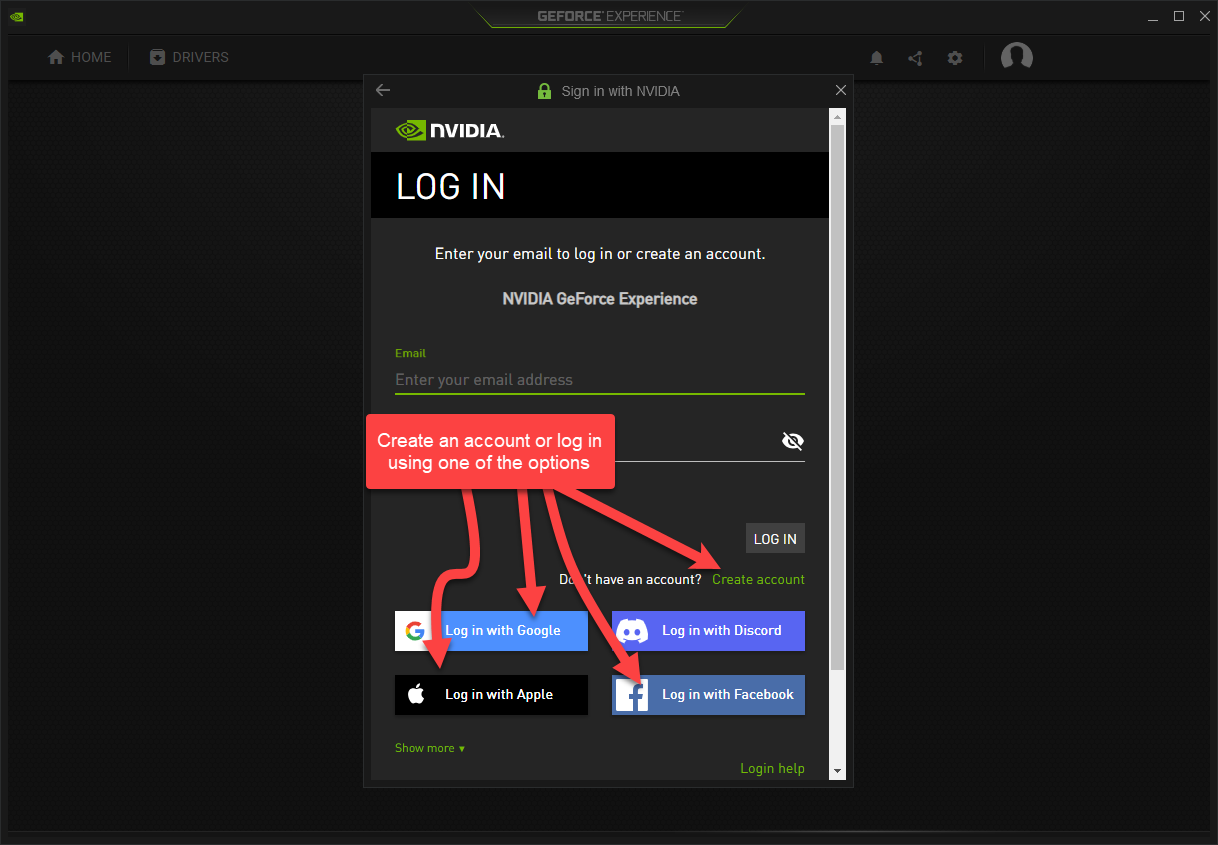
6. Create an account or log in using one of the options
7. Skip the tour or watch it if you would like more information on the options

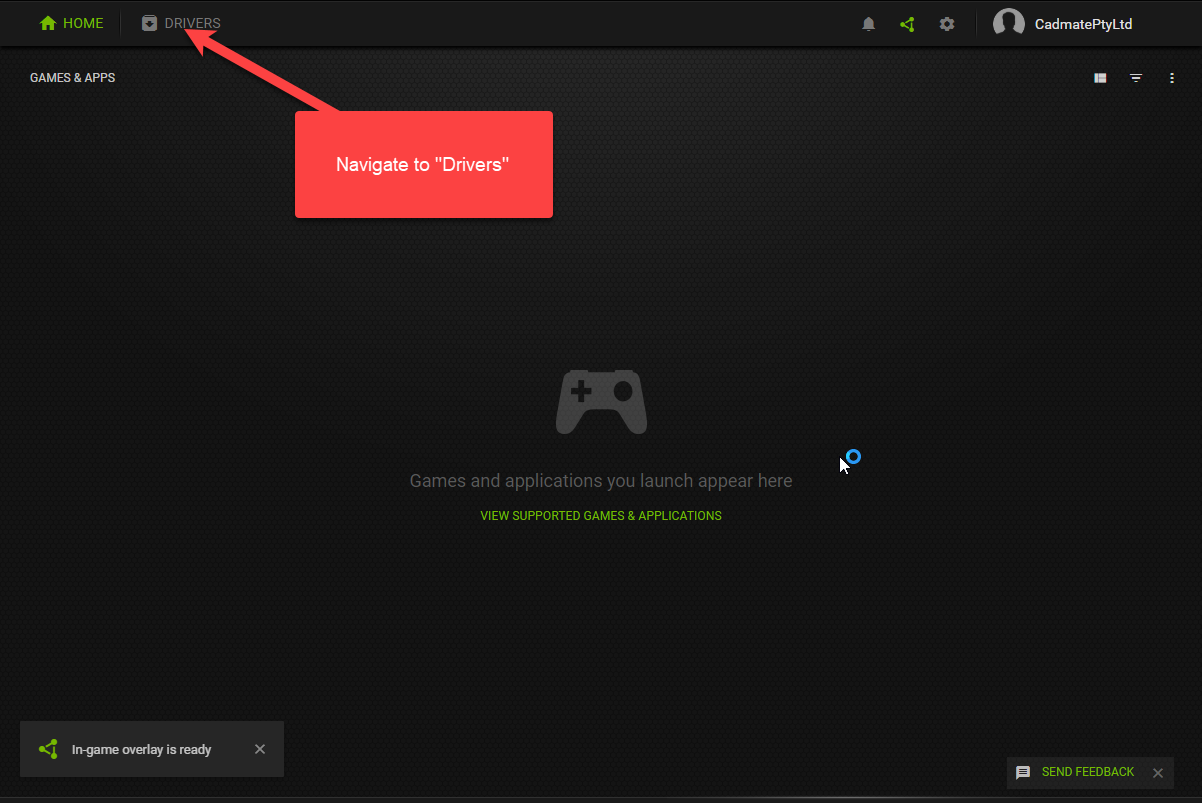
8. Navigate to "Drivers"
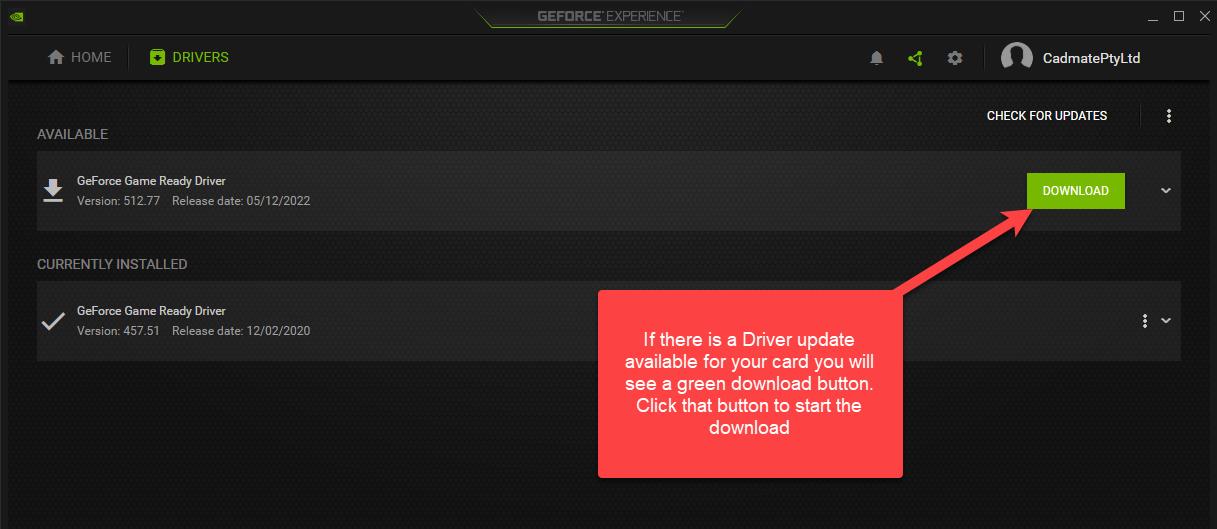
9. If there is a Driver update available for your card you will see a green download button. Click that button to start the download
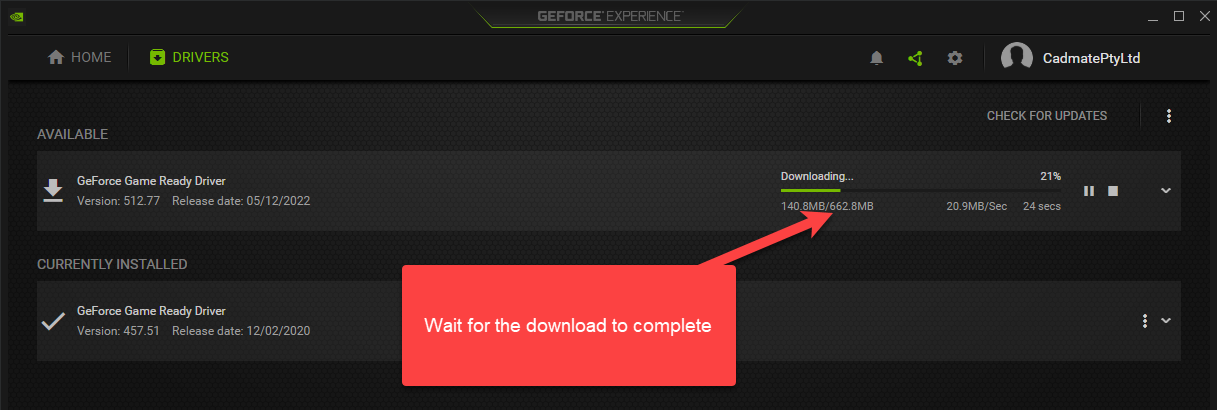
10. Wait for the download to complete
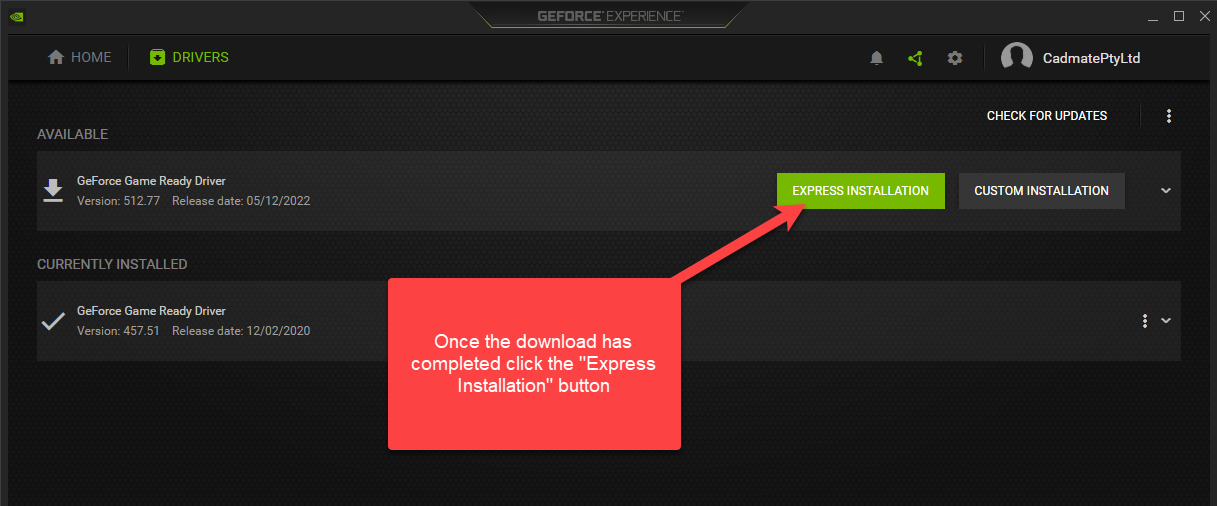
11. Once the download has completed click the "Express Installation" button
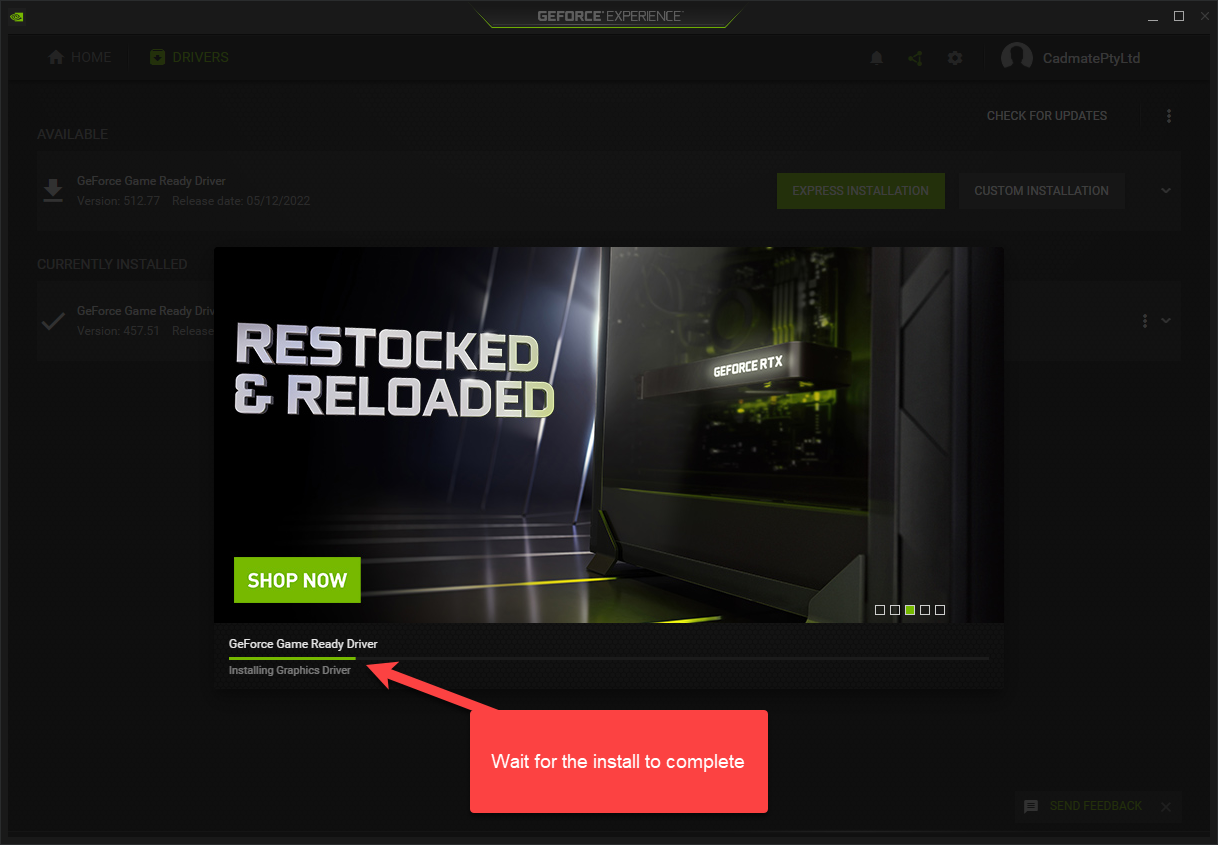
12. Wait for the install to complete. Your computer screen may flash or go blank for a few seconds at a time during the installation. Do not turn your computer off. Wait for the install to complete.
13. When the installation is complete you will see this notification
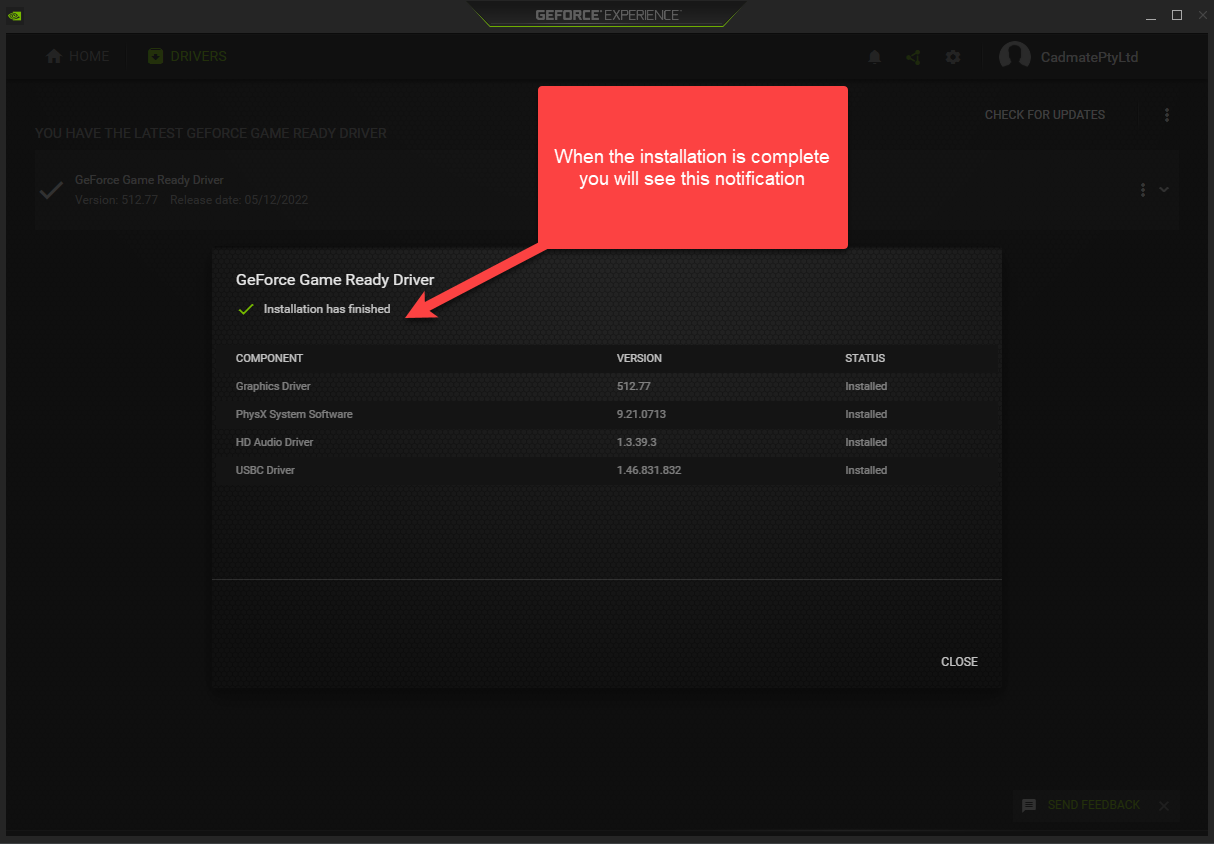
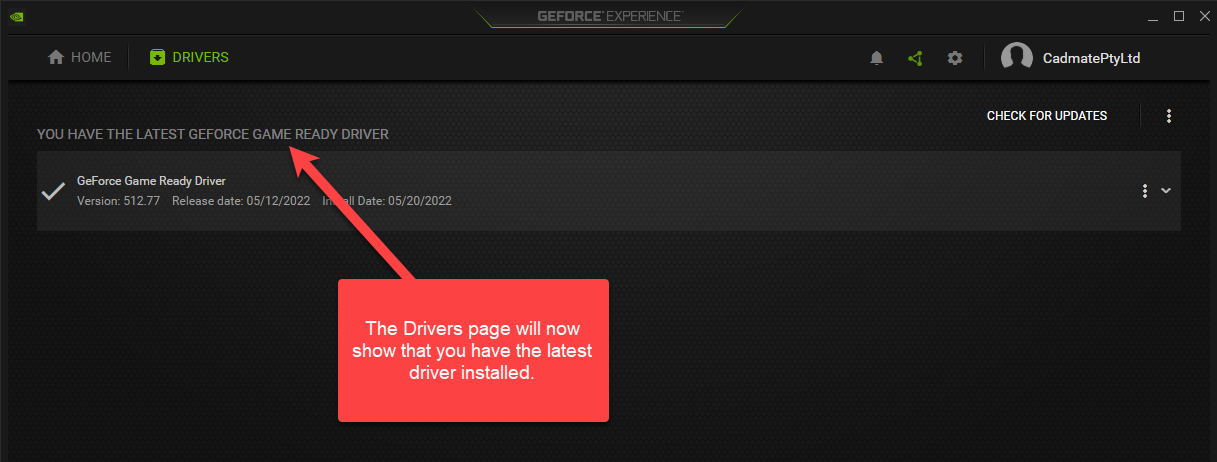
14. The Drivers page will now show that you have the latest driver installed.
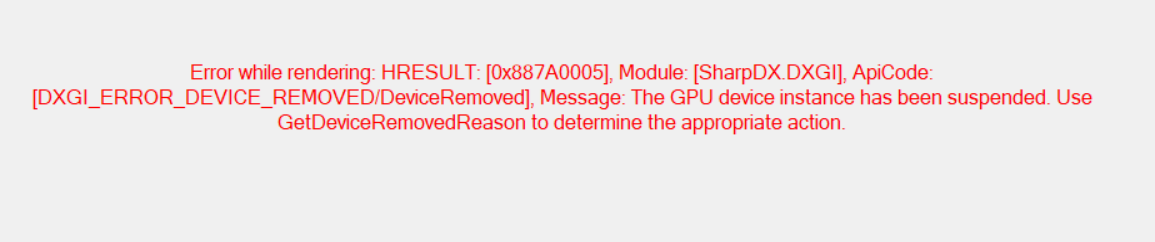
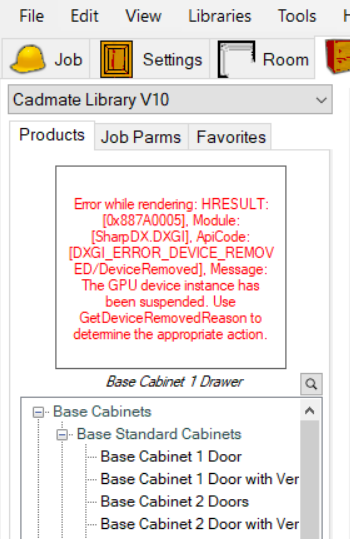
15. Now that your graphics card is running the latest driver please open Mozaik and check if the SharpDX.DXGI / GPUDeviceRemoved error has been resolved.